Shortly after that, Mr. Lewis Cunningham [ blog | twitter ] went looking for volunteers to provide feedback on a cloud book he was writing. He wanted those with experience and those without (me). I jumped on the opportunity and Mr. Cunningham accepted. Thankfully, the book went by the wayside, instead becoming a series of articles (which I can't seem to find) on his blog, because I had fallen behind...way behind.
Since then I haven't done a thing in the cloud (should I capitalize that?). Until today when a colleague asked about creating a test bed for OBIEE, Essbase and other software. I prefer having a big beefy machine at home that I can muck around with, but seeing as how I haven't had a job in a while and money is tight, I thought the cloud would be the best bet.
So I began to tinker.
To back up a little, one thing I always had problems with was connecting to the instance via Ubuntu (not sure if this was a me/Ubuntu issue or a cloud/Linux issue)...by problems I mean I was never able to connect.
Since we are talking about OBIEE and it can be a Windows only install (both server and client tools), I tried to see what I could do. First I looked to see if there were any OBIEE images (AMIs) out there. There was, but I needed some sort of subscription to that. So I fired up my own Windows Server 2003 (64bit) instance, downloaded java (JDK) and the OBIEE software.
Small side note, download speeds from there are AWESOME!
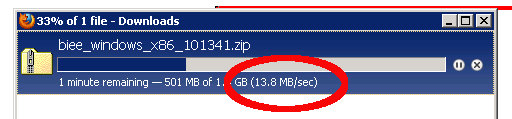
I have 25 down and 15 up and home and I thought that was fast...we should really feel sorry for Kris.
How to Create an Instance using Amazon's EC2
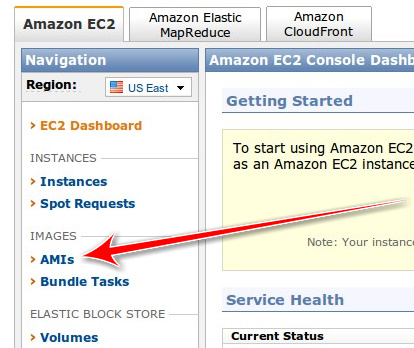
First you'll need to create an account if you don't already have one. Then go to http://aws.amazon.com/. Find the AWS Management Console and click on that. Should look something like this:
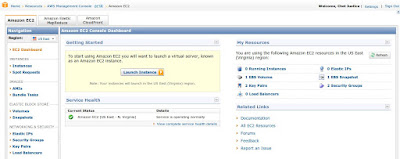
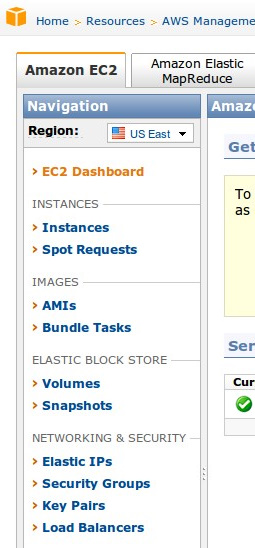
On the lefthand side, you'll see a menu of actions.
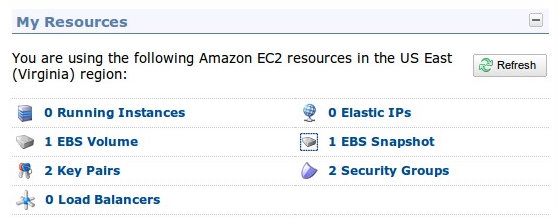
On the right side is your dashboard
Back to the left side, choose AMIs
That should take you to this page
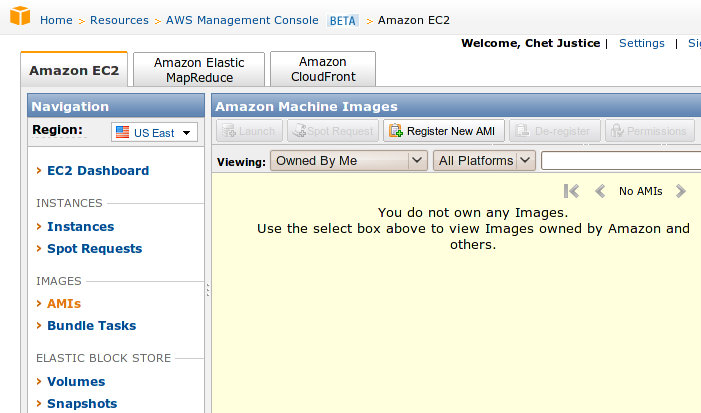
Let's find some images.
First, pull down this drop down and select Amazon Images
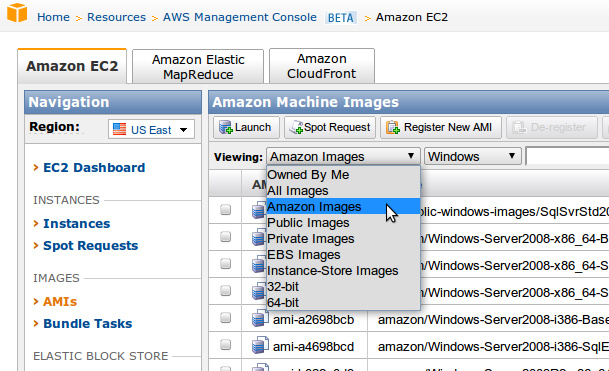
Then select your platform, Windows
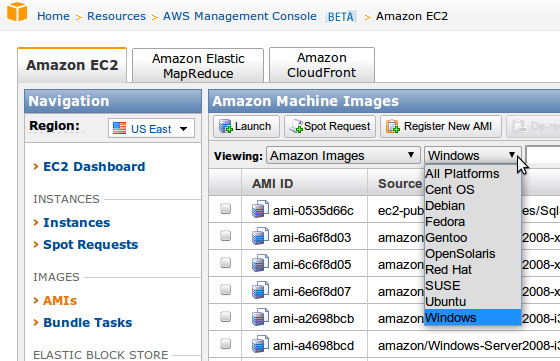
Select the amazon/Windows-Server2003R2-i386-Base-v108
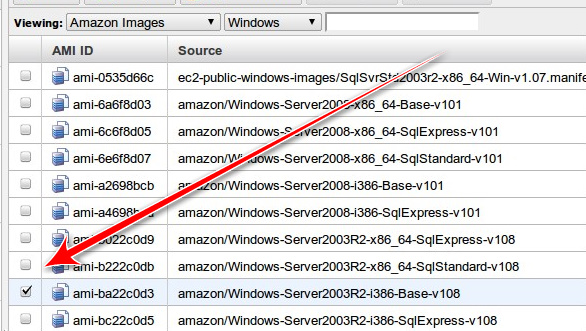
Launch it
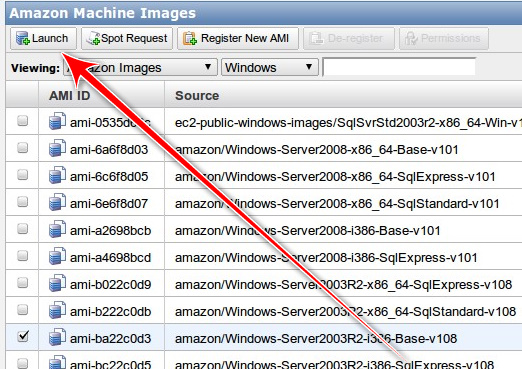
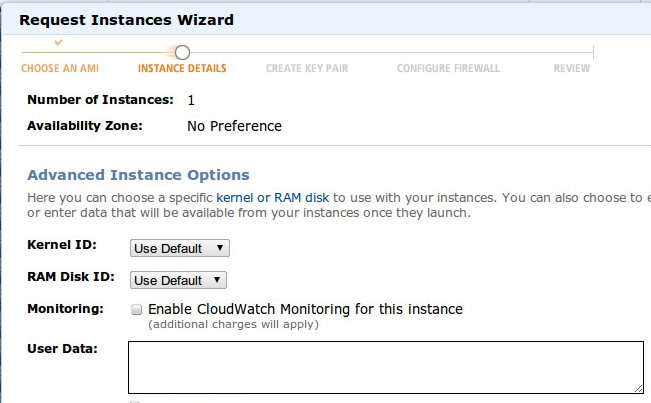
This will bring up the Request Instances Wizard, just go ahead and select the default and click on Continue

Instance Details, I don't really know yet what this page is about, perhaps someone out there can enlighten me, but just go ahead and accept the defaults
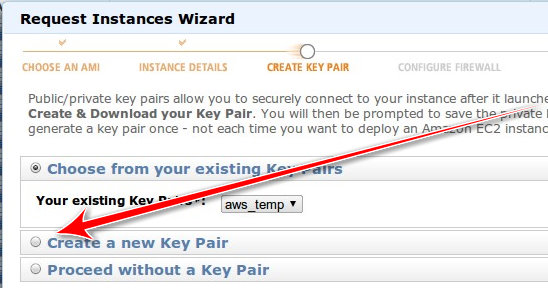
Now we're on the Create Key Pair page. I have a couple of keys created but I'll walk you through creating a new one as well.
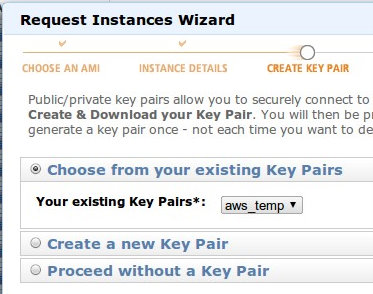
Select Create a new Key Pair
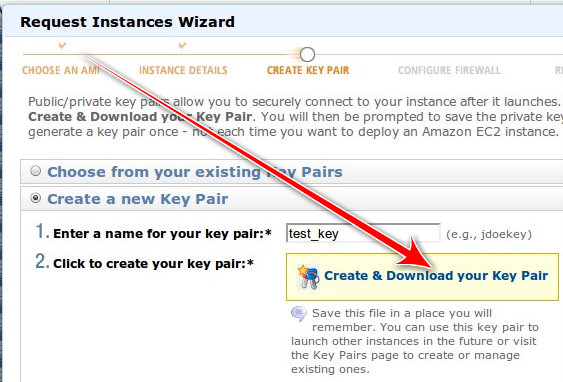
Name your new key "test_key" then select "Create & Download your Key Pair." Download the key to your Desktop.
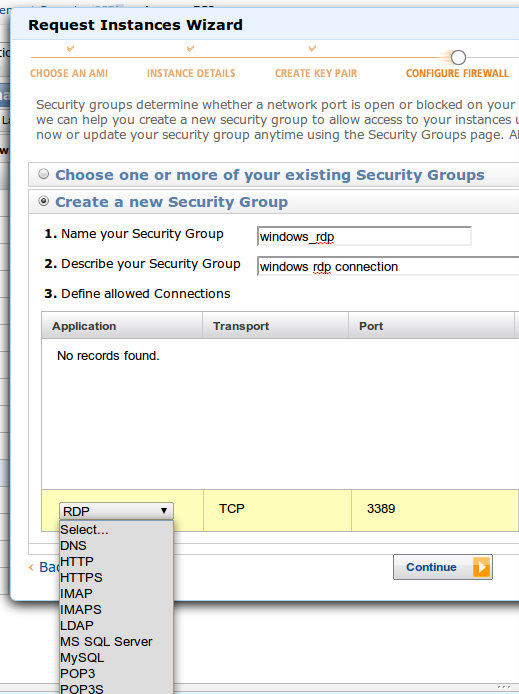
Next up, Security Group. This is probably what screwed me up previously, trying to connect to Linux instance. I was never sure where the key should reside. I followed all the instructions...I just couldn't get it to work.
With Windows, you need to add a Security Group so that you can RDP into the machine. The port is 3389, but the wizard will take care of that.

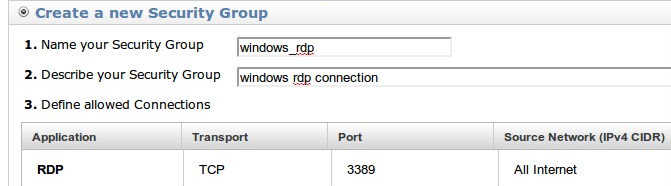
Name it whatever you want and down at the bottom, select RDP as the rule you want to add.
When you are done it should look something like this
Select continue and you get this nice little summary page
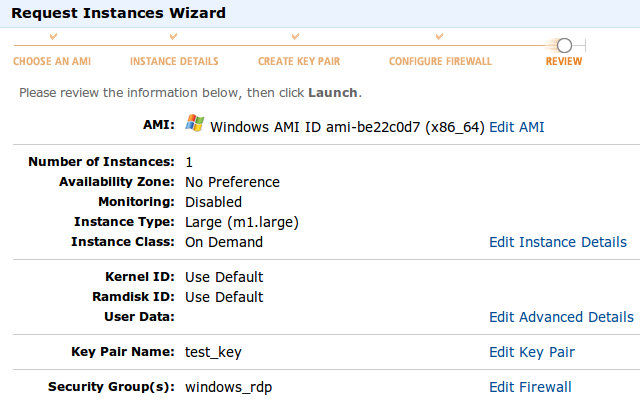
Click Launch.
Connecting to your Instance
It takes a few minutes for your server to start up. You may have to hit refresh in your management console to see it.
Once the instance has started up, you need to get the password. If you haven't waited long enough, you'll see this:

Be patient.
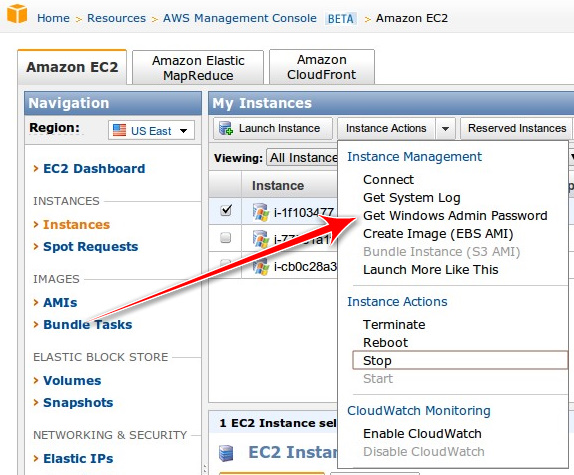
To retrieve your password go to Instance Actions
You'll be greeted with this
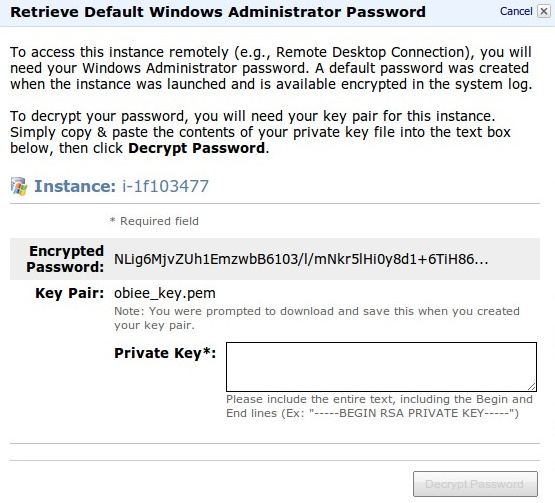
Enter the text from the key you downloaded to your desktop (note the screenshot says obiee_key, that's because I took this screenshot earlier today).
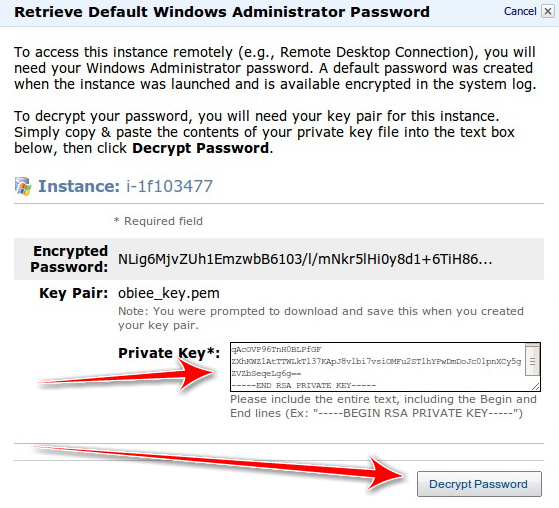
And here's your password
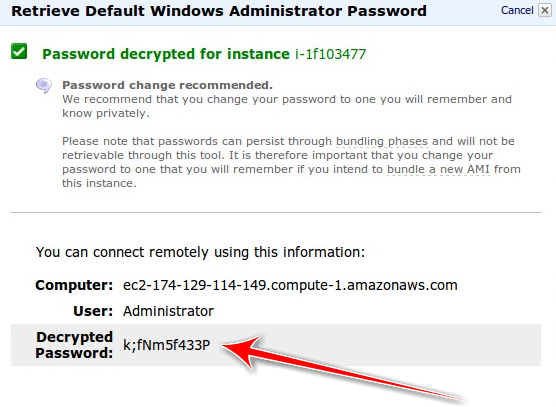
Now open up Remote Desktop Connection (Windows) or your Terminal Server Client (Ubuntu), enter in the address, Administrator for the username and password you just generated.
Hit connect and you should be done!
1 comment:
EscVector,
Thanks for the tips. I'm just now getting my feet wet in the Cloud environment so I can't say I know much. My company is looking at creating a test bed in the Cloud and since I knew, or had some experience with AWS, that's the way I went.
Post a Comment